The Canary Killed the Coal Mine
I’ve been working on getting an observability stack going on the cluster, and came across one of those situations where the thing looked broken, but actually it was working perfectly as intended. In early stages here, my plan was to monitor the syslogs on my Ubiquiti setup.
There’s a handy little section for offloading syslogs in the UI:

 Wouldn’t it be fun if that was all it took? That 10.20.0.0 address, conveniently supplied by Cilium, is the loadbalancer IP for Alloy.
The plan was to set up Alloy to receive the logs from the UDM Pro, forward them to Loki, where I can visualize them with Grafana.
Having never touched any of this before (aside from a whirlwind of a migration of a Splunk instance at work), I had no idea where to look to see if anything was happening at all. Eventually, I found the Explore section in Grafana hoping to see some raw logs, where I saw:
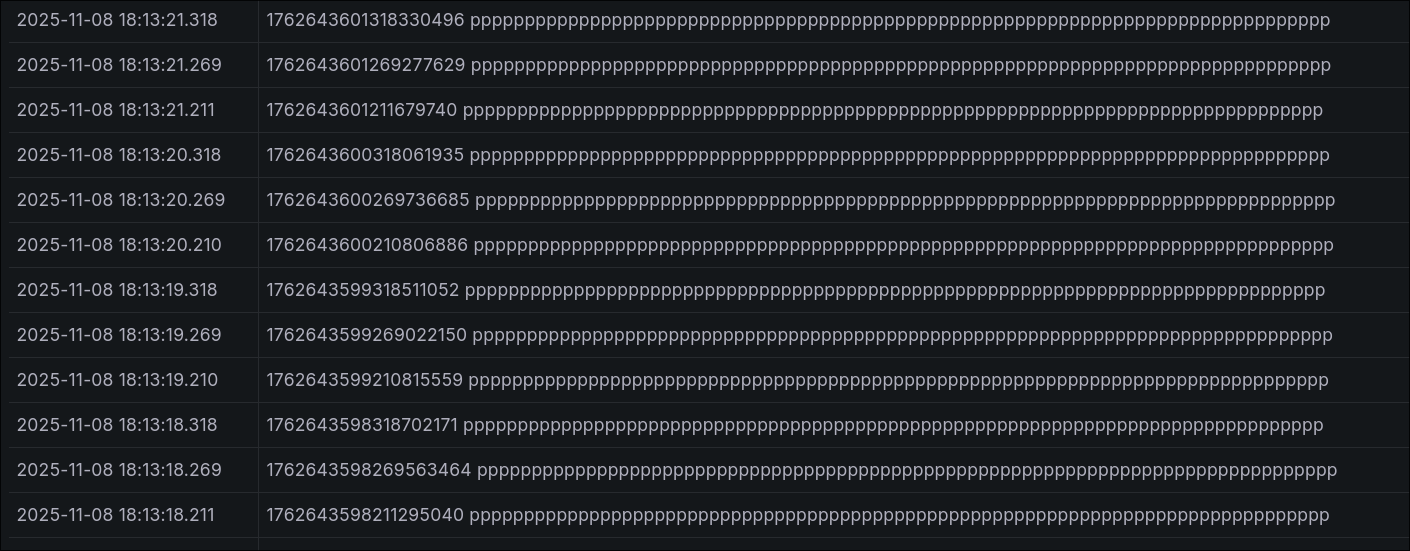
Which I guess was something, but looked like a case of unrecognized formatting. I lost a day until I figured out that the source was from a daemonset called Loki Canary. Upon looking up what the heck that was, I found this:

Apparently the entries full of ppppppppppppppppppppppppppp were pretty much a heartbeat from each Canary pod in the cluster. If those were to ever stop, you’d know something was wrong.
However, it was completely flooding out my raw (for now) logs at tens of thousands of entries a day.

After adding the below to my values.yaml:
# no more pppppppppppppppppppppppppppppp
lokiCanary:
  enabled: false
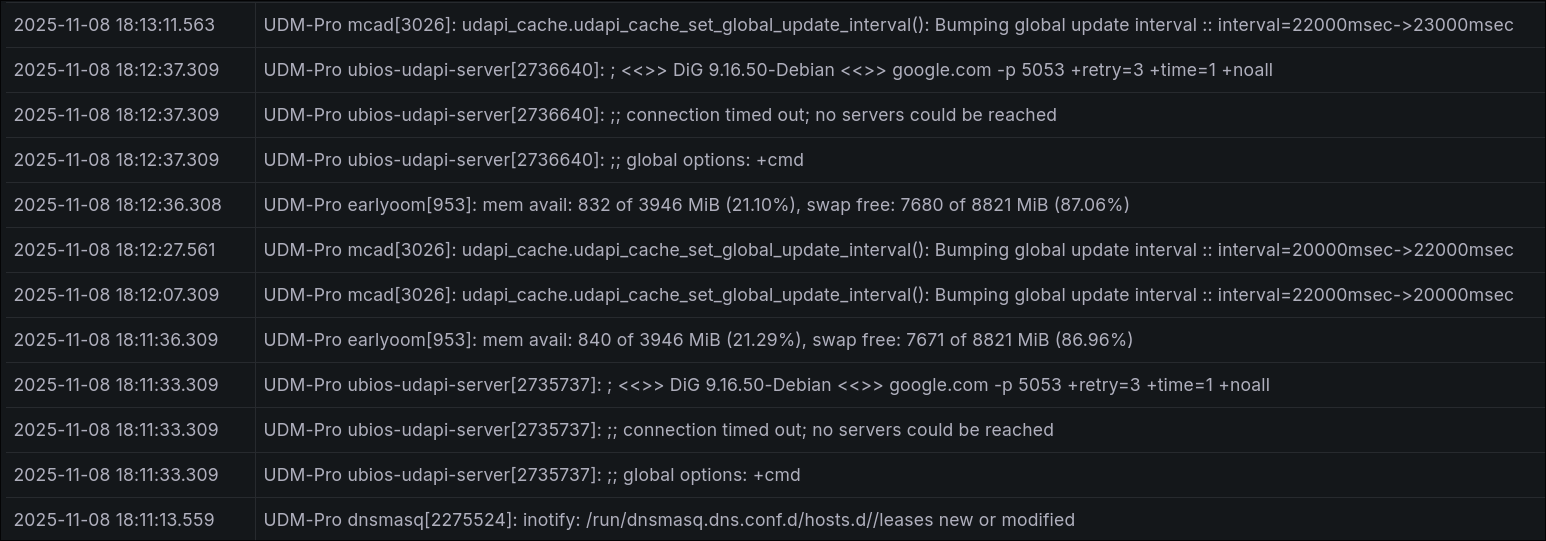
Everything started looking a lot more normal:
It's not the network (it's kind of the network).
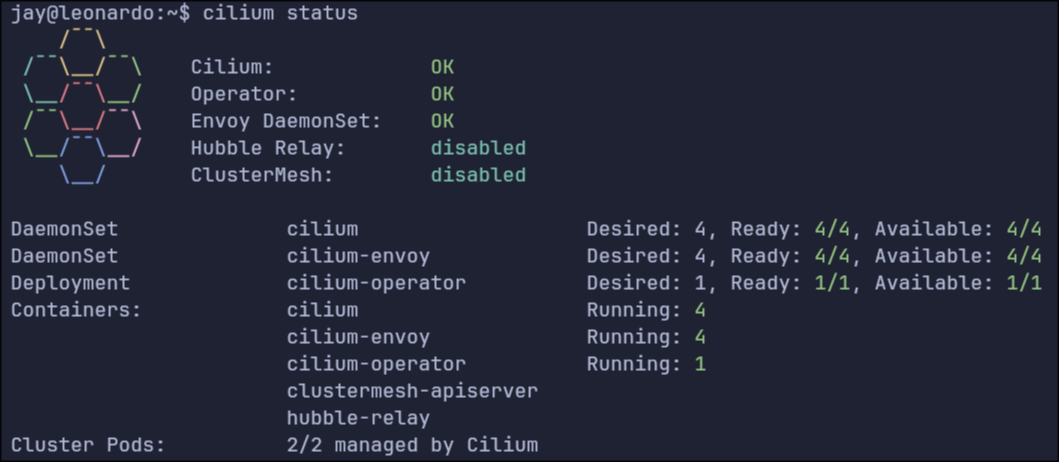
We’re back in business on the Pi cluster, now with Cilium. The fun thing about all this cloud native stuff is the aggressive vendor agnosticity. You don’t go far in the installation documentation for this stuff before hitting a fork in the road where you need to choose a solution to an issue you never knew even existed. In this case, it’s your Container Network Interface, or CNI.
Sure, containers are just little bits of your operating system sliced off and cordoned off for a specific set of processes. But that can only go so far on the local system, and if it’s not local, it’s networked, and if it’s networked, it needs a network!
CNIs form the bridge* from the containers running on a machine, through the machine’s network stack, and then out the physical interface into your network in a way the rest of the network will actually make sense of.
*The word “bridge” has a certain meaning in the context of networking, but other words like route, path, connection also have their own pedantic meanings, so I had to pick one. Also, some CNIs do in fact form a virtual bridge.
Anyway, in the course of your Kubernetes installation, you will be prompted to choose a CNI without much help on which one to choose. I have previously used Calico and Flannel without much difference to me and my current capabilities. This time, for a change of pace, I decided to use Cilium. It’s a slightly different process from the others in which you need to install the CLI app first and then use that to deploy a helm chart whereas the others have you deploy the charts yourself.
In the course of this, I learned a few lessons:
- Ubuntu uses systemd-resolved to resolve DNS, which by default does not consider DHCP option 119. This is probably only relevant to my case in which I have a .lab domain in my house where all the weird experimental stuff sits. DHCP option 119 is the reason you don’t need to specify .local when you ping another device by name on your home network. Your local DNS resolver has search domains that it will automatically append to non-FQDN hostnames; it learns these when your device connects to the network and makes a DHCP request to get its IP address, and the DHCP server replies with the IP address along with the search domains.
To resolve this you need to add the line UseDomains=true to /run/systemd/resolve/stub-resolv.conf and do a systemctl restart systemd-resolved. After that, systemd-resolved will start using the domains learned from option 119.
- When you initialize your kubelet with
kubeadm, you should specify the--pod-network-cidrparameter. It specifies the full range of IP addresses that Kubernetes can use to assign to its pods. This, weirdly, gets stored in Kubernetes under the value ofcluster-cidr. More confusingly, there exists apod-cidrvalue, which is a subset of thecluster-cidrspecific to each node. When thepod-cidris equal or larger than thepod-network-cidr, Cilium will fail to start. In my case I had set mypod-network-cidrto172.16.0.0/24, which coincidentally lines up with the defaultpod-cidr. Setting that back to172.16.0.0/16got everything working again.
This all goes to say that, as a network engineer, it seems like everyone is blaming the network, where from your perspective the packets are going to and from the correct black boxes as designed, and your responsibilities are fulfilled. The hard part is that nowadays, with virtualization and containerization, the network has extended into the boxes. It’s all too easy to get stuck in traditional ways of physical switches and routers, when actually there can be any number of virtual switches and routers inside each of your endpoints, and unless you find a way to meet somewhere in the middle with the endpoint folks, none of this goes anywhere and we’re all just stuck talking to ourselves.
Bandwidth Visualizer
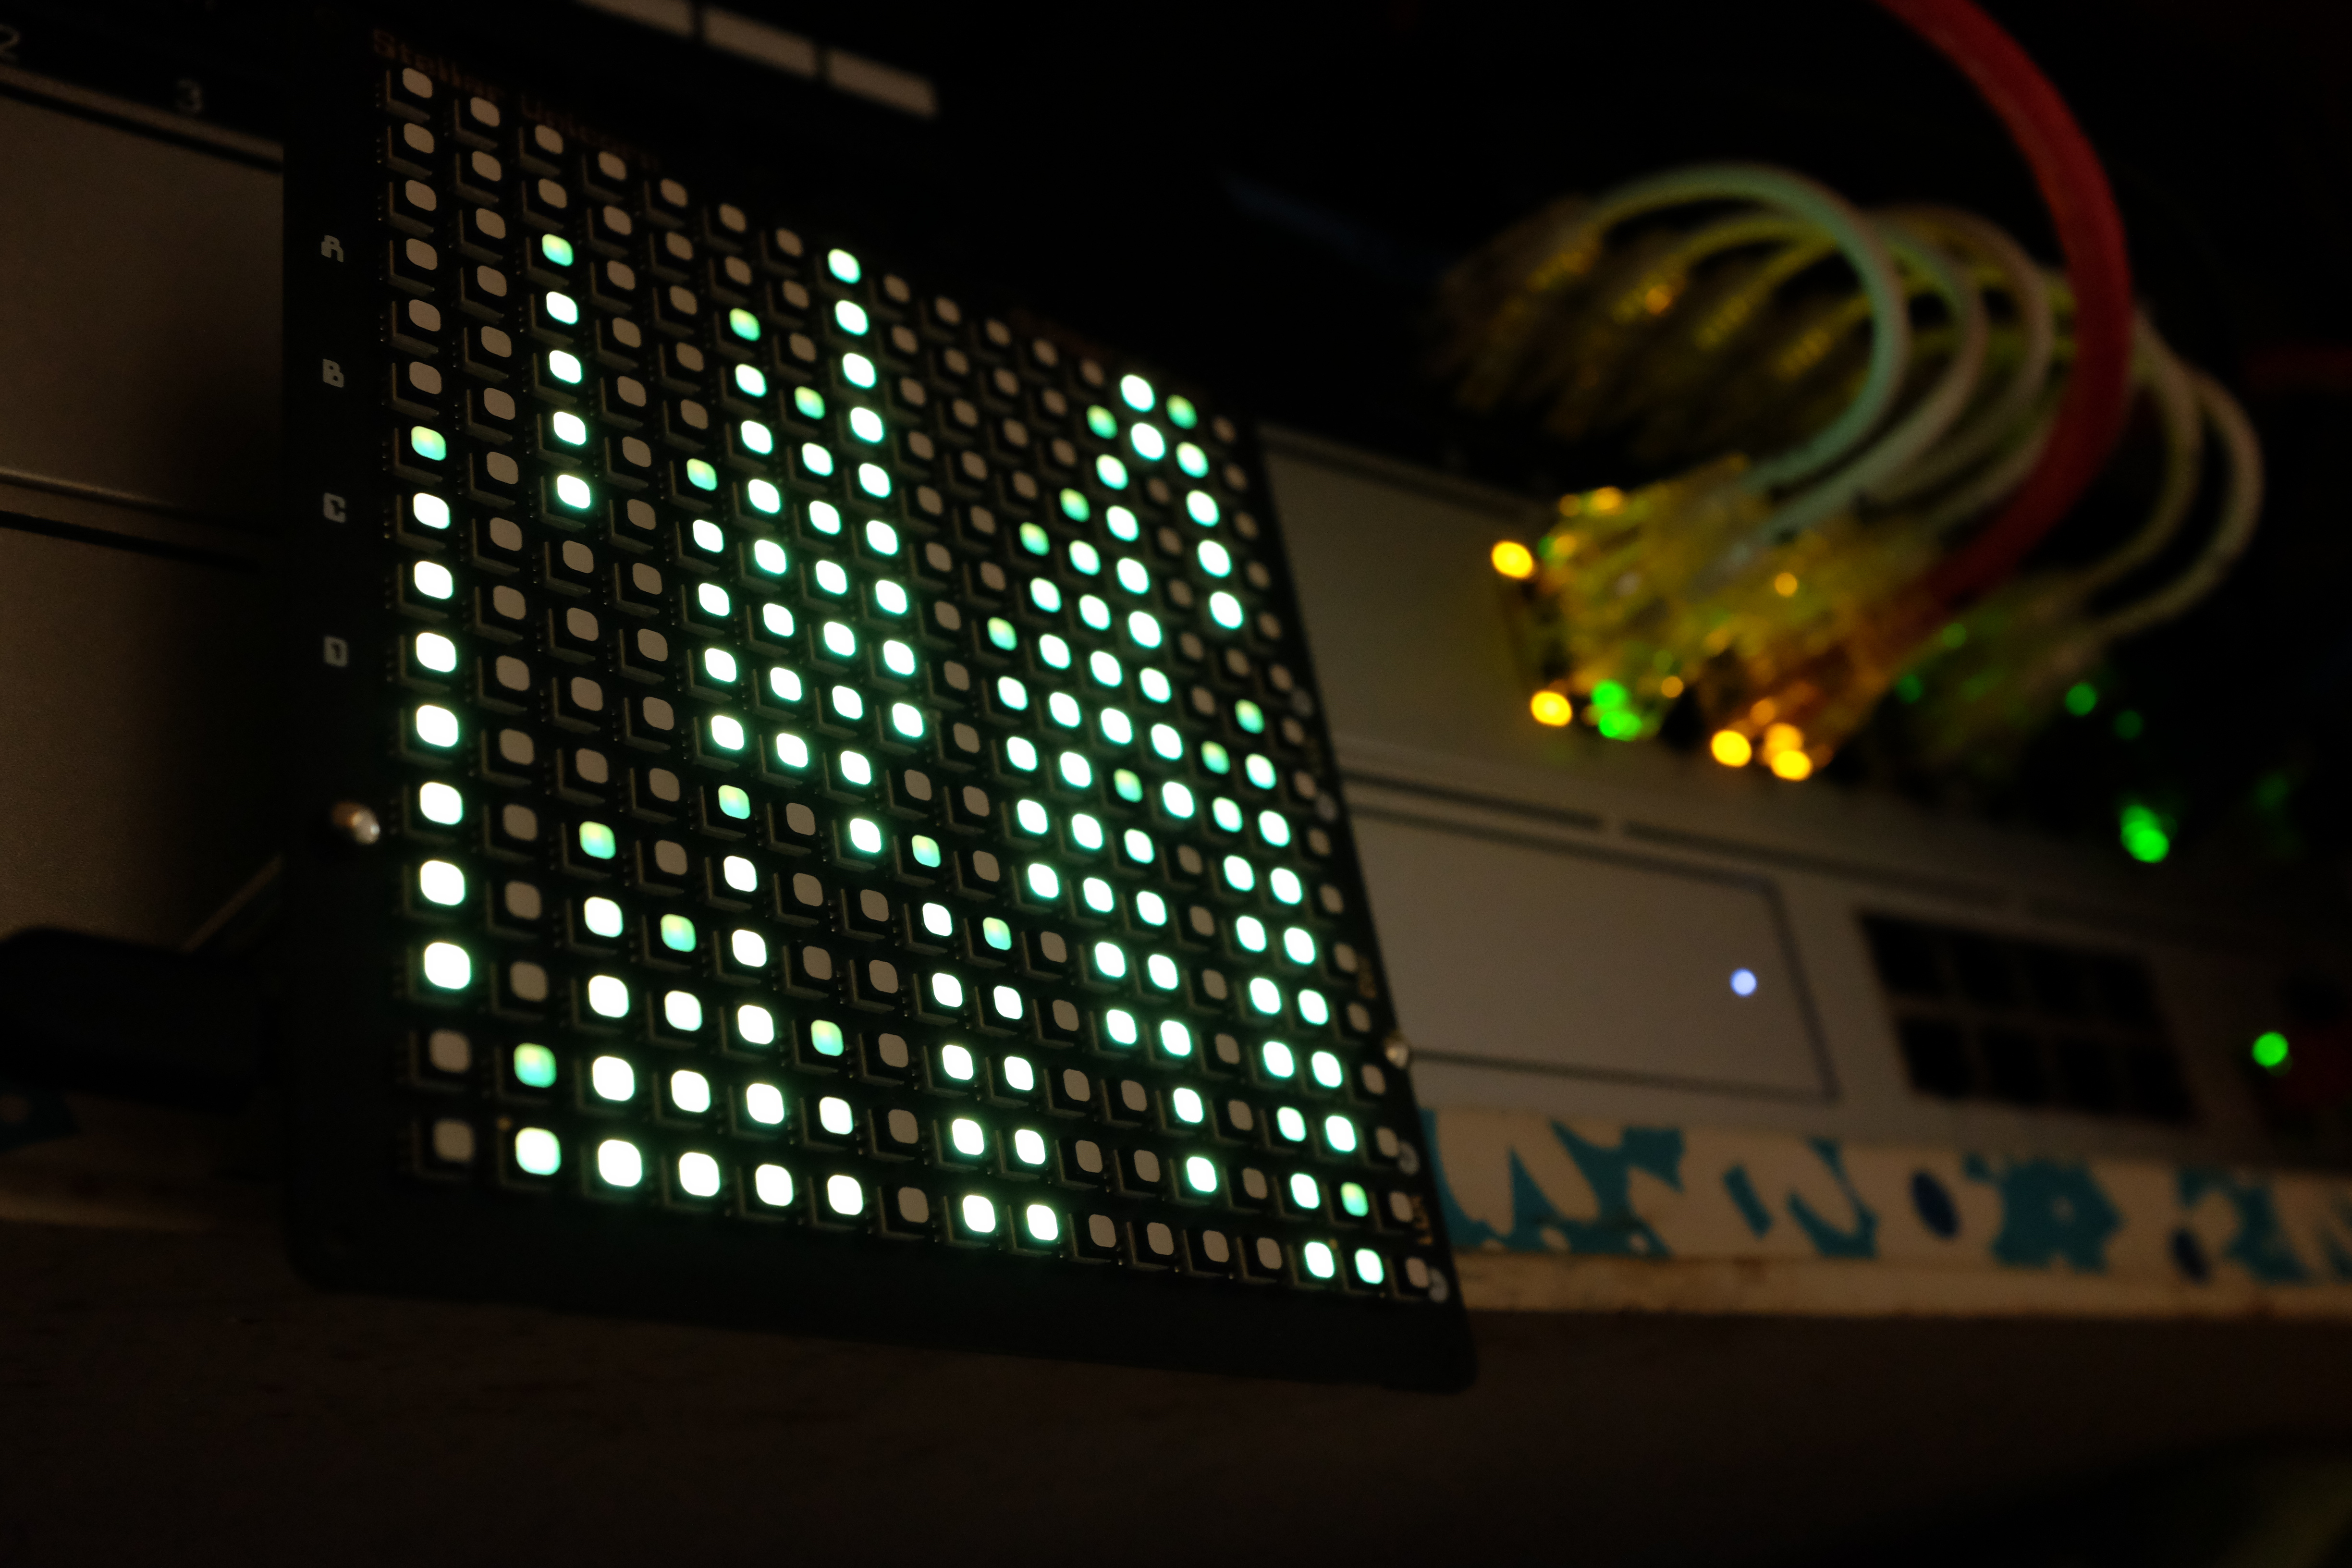
A while back I came across this Stellar Unicorn in the clearance bin at Micro Center for $15 and picked it up. It’s basically a 16x16 RGB LED display with a Raspberry Pi Pico W stuck to the back of it. It comes with a few neat example graphics scripts, but the real purpose is for you to write your own. It was only now that I figured it was time to sit down and learn how to.
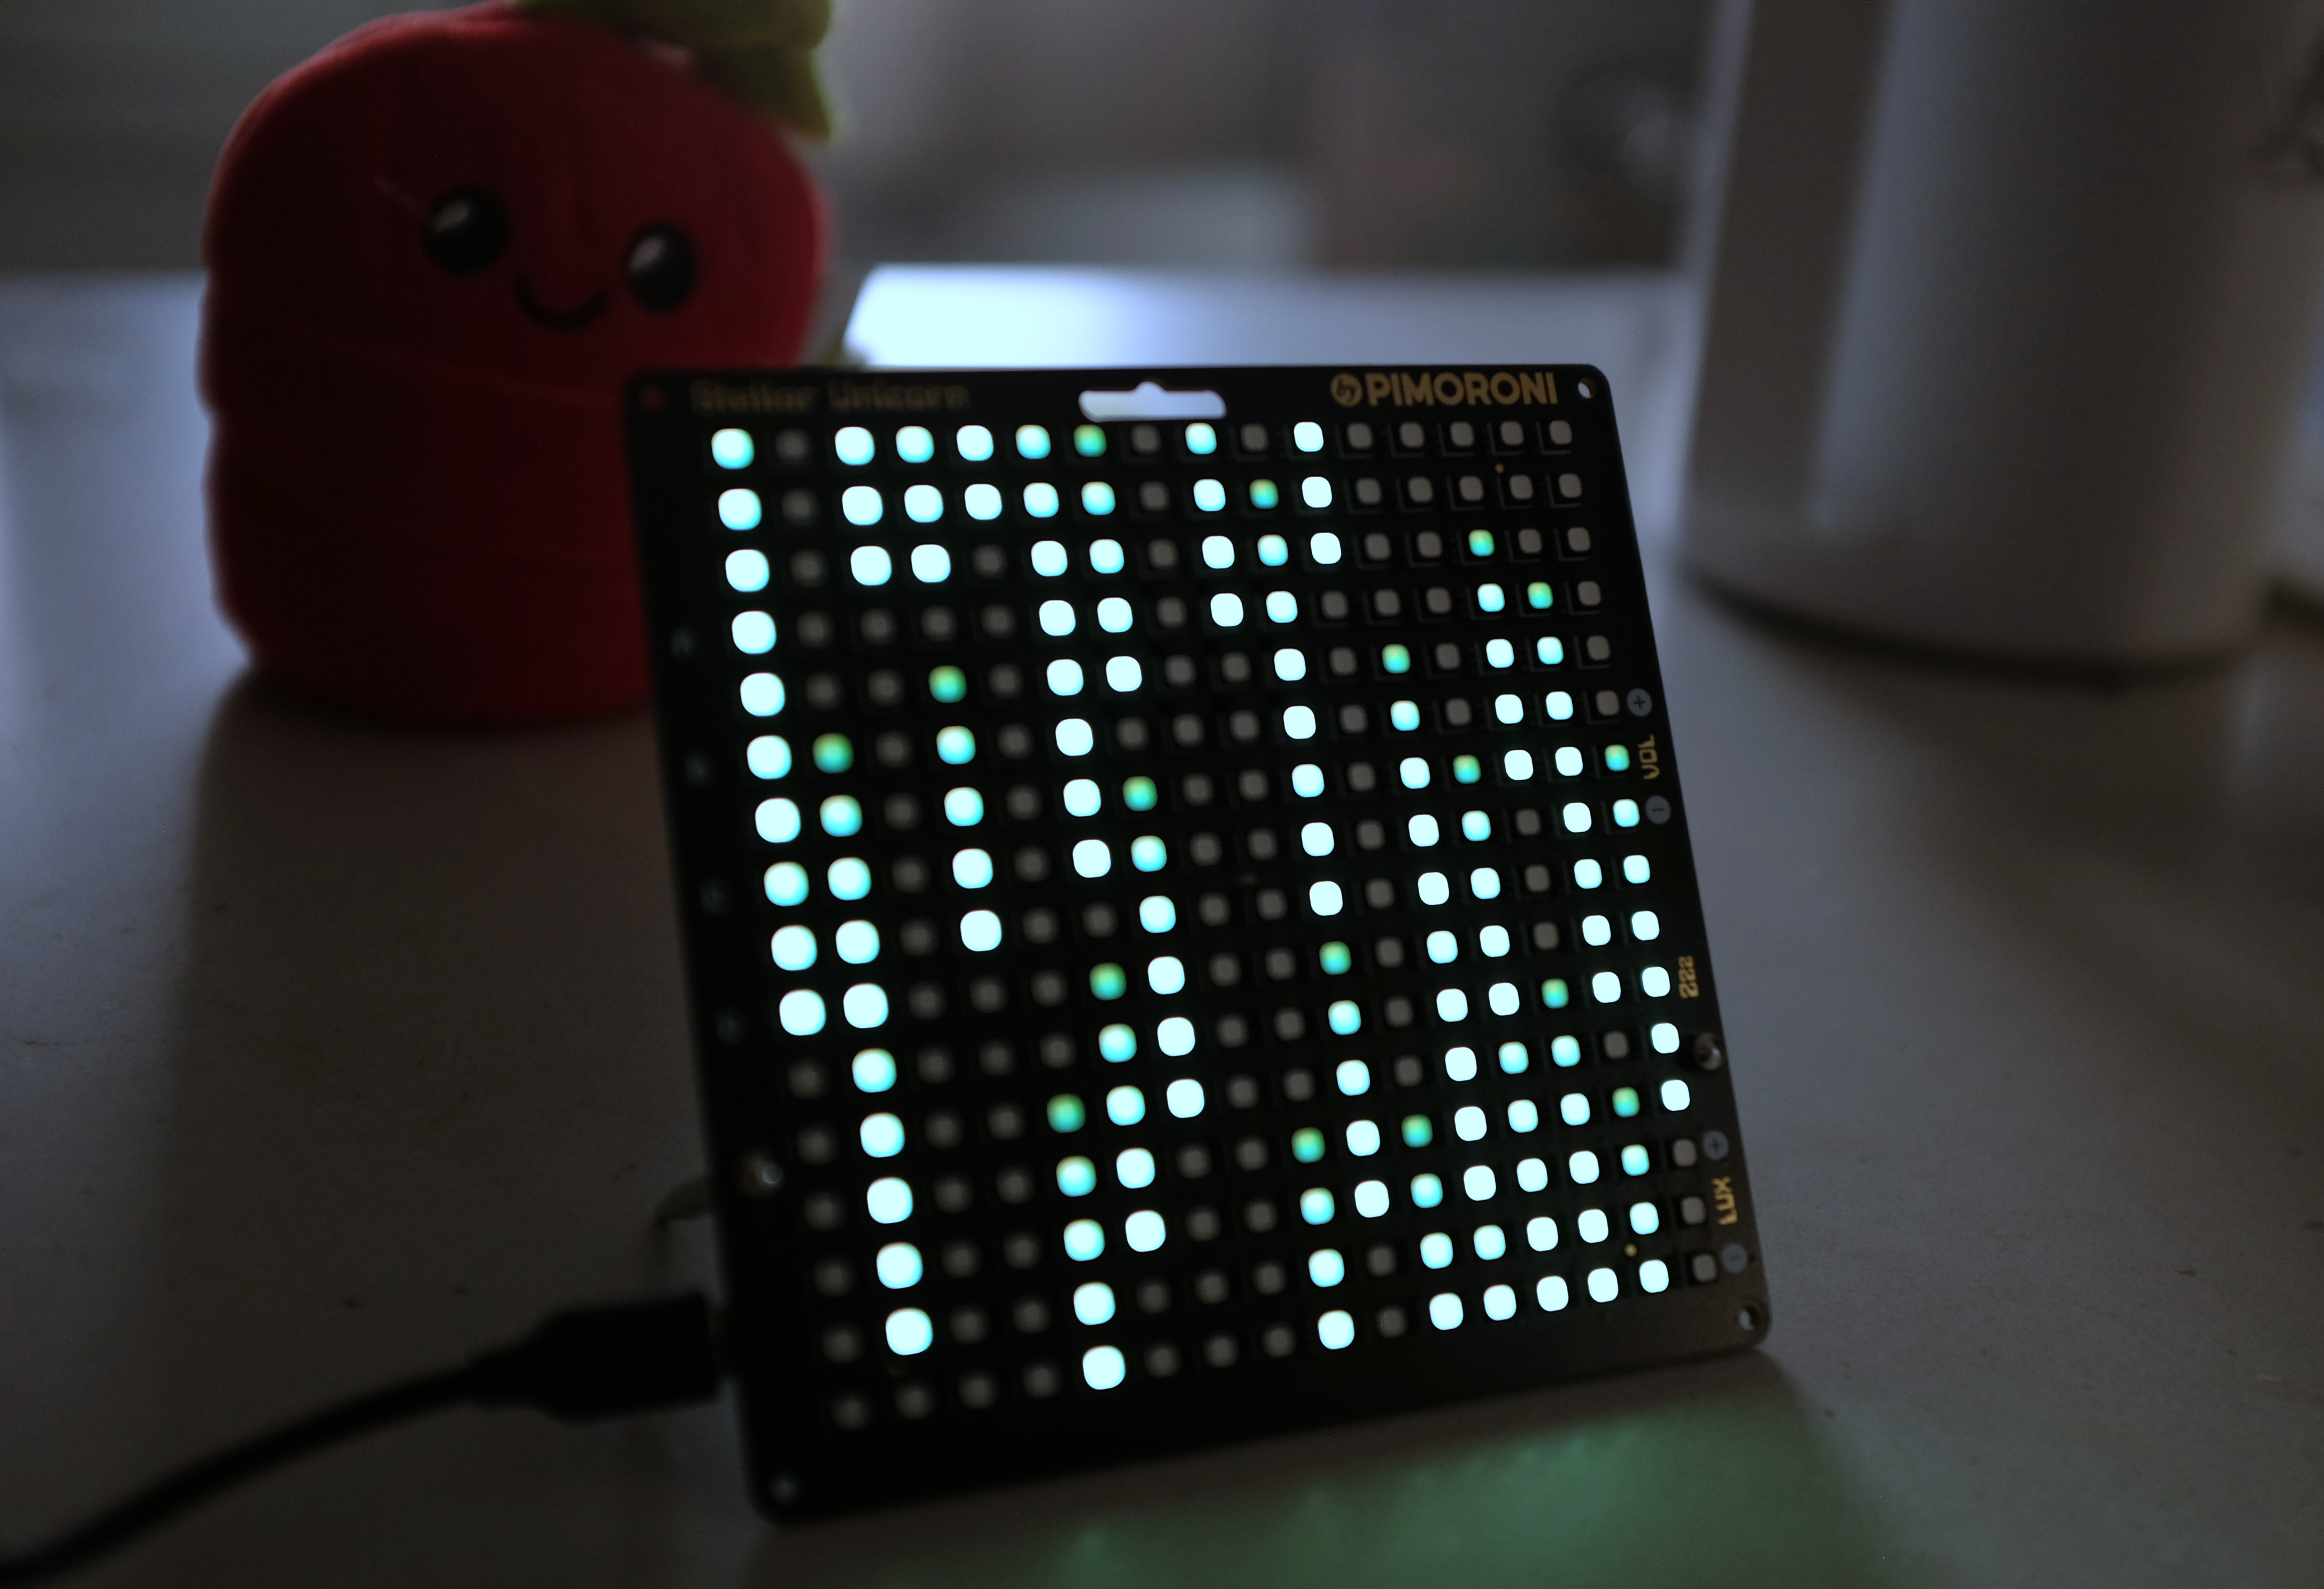
My plan was to create a network bandwidth visualizer fashioned after the title sequence to The Matrix. My network at home is Ubiquiti-based, with a Unifi Dream Machine at the core, which is nice in many ways but also provides API access via the Ubiquiti API.
This project has been a mix of a lot of things I’d been meaning to get into or put to use but just never had the right excuse:
- Network visibility and programmability
- Asynchronous programming in Python
- Embedded systems
The Python side of things is MicroPython, a stripped down and streamlined version of Python made for microcontroller boards such as this RPi Pico W. When you flash the MicroPython firmware to the board, it creates a little filesystem for you to upload your scripts, and at power-on, it finds and runs main.py. It’s also got its own version of pip, mip (which came in handy for installing uasyncio and ujson).
Inside, I have three loops running asynchronously (in parallel):
- Poll the API at regular intervals and update the downstream utilization on the uplink in bytes per second.
- Spawn the dots at the top of the screen according to an interval based on the uplink utilization.
- Update the positions of the dots as they scroll down the screen, clearing out the ones that reach the bottom, and then update the display according to the configured frames per second variable (currently set to 4 FPS, which is slow but I’ll explain).
I had originally had these running synchronously, which was a tremendous pain because I had to:
- Track when each variable was last updated
- Track how long it’s been since the last update
- Actually update the variable
- Update the last update time.
Even with just a handful of variables, it took a lot of time that I should have just spent learning async io.
The remaining problem is, when the API call is made, the whole device freezes for a fraction of a second, in spite of being run asynchronously. It doesn’t sound like much, but it manifests as a very annoying stutter that is more noticeable at higher FPSes. Even at 4 FPS it is still there and that’s as good as I can get it.
There are also four buttons on the back of the display, and I’ve been wondering about what kinds of things I could do with them with the API. Turn the ad blocker on and off? Cut my kid’s internet access when necessary? Maybe initiate a graceful shutdown in case of a power outage.
In any case, I’m hoping to make a library of these visualizations because I spend my day at work looking at line graphs, but it’s nice to see network activity in a more tangible way, even if it’s completely qualitative and not exactly representative of reality (I fudged with multipliers a lot to get it to “look right”).
Oh, and another great thing about this – it’s got wifi, so I can just put this anywhere in the house, give it 5VDC and it automatically connects and starts doing its thing.
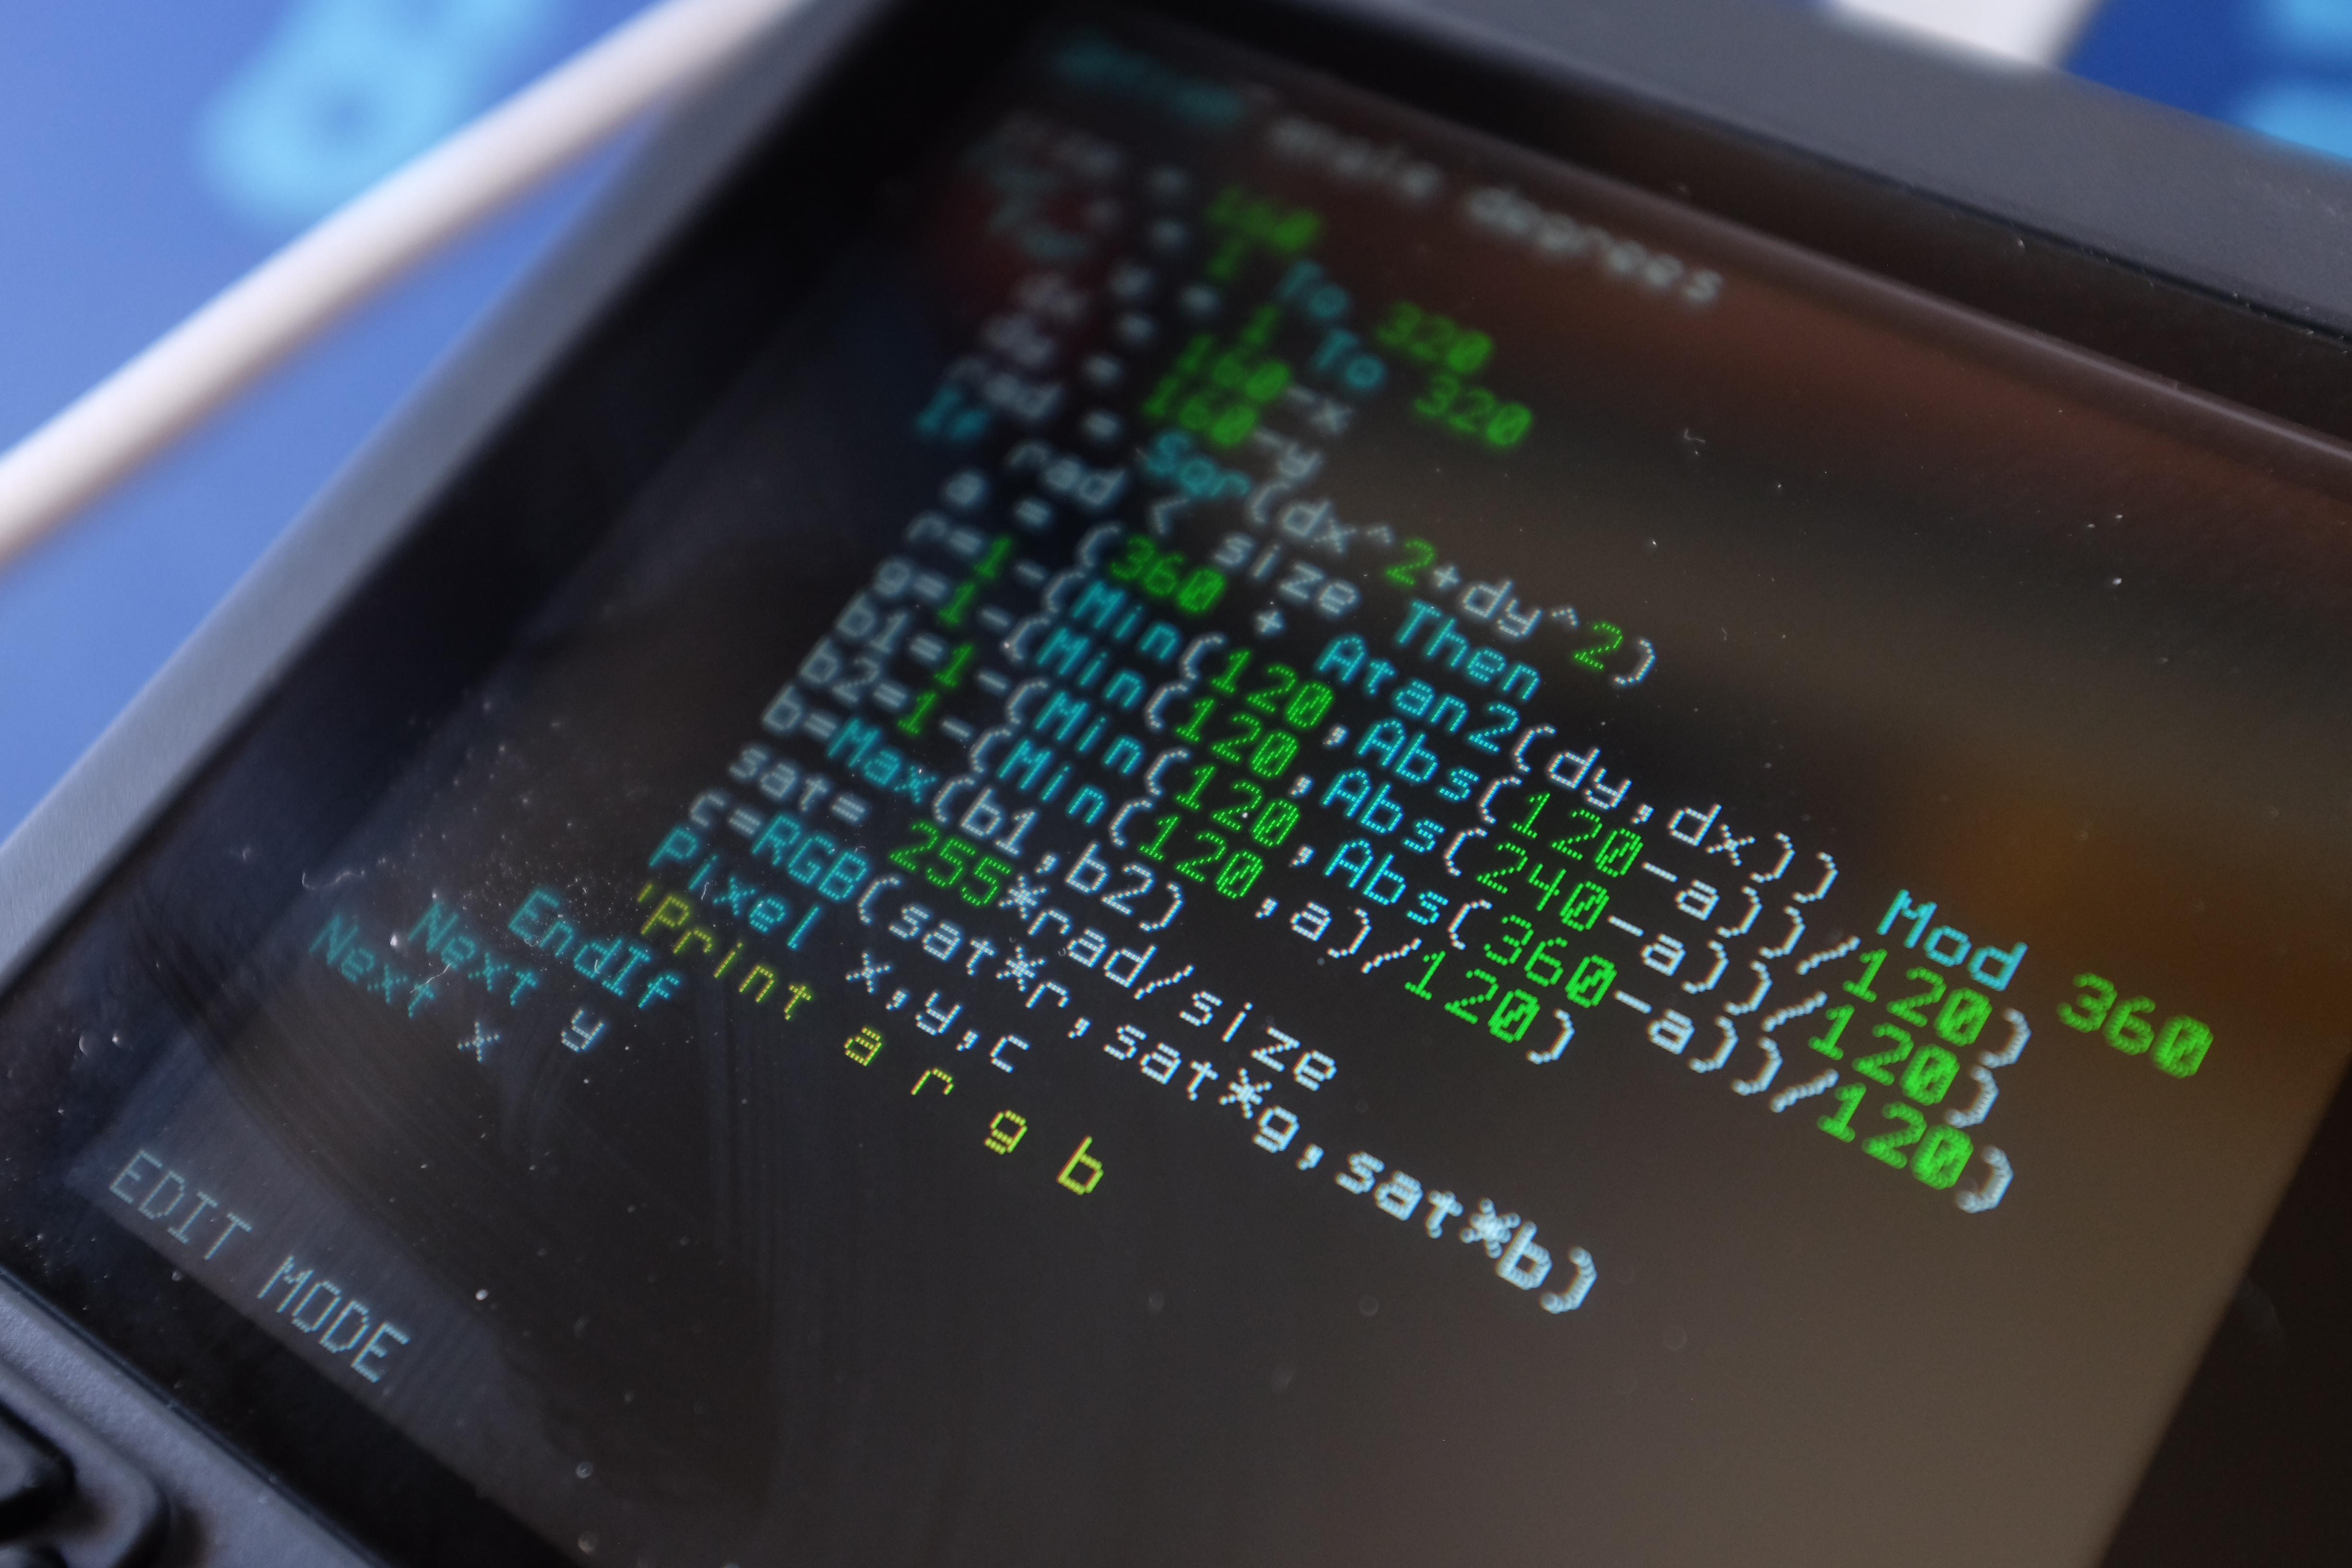
picocalc

We got a pair of PicoCalcs, and they’ve been a ton of fun.
I’m not entirely sure how to describe the PicoCalc. It’s got the form factor of the oldschool graphing calculators (do people still use these?), but it’s more or less a self-contained single board computer with keyboard, display, and audio. Inisde is your choice of several Raspberry Pi Pico microcontrollers.
It comes loaded with PicoMite, an MMBASIC interpreter. My older brother taught me a bit of BASICon his Commodore 64 when I was 7 or 8, so using the PicoCalc comes with a lot more nostalgia than just the form factor.
So far it’s just been silly little graphics and sound synth programs. It’s pretty slow and the 256k of RAM doesn’t leave enough room for multiple framebuffers, so decent animation is out of the question. You have access to the GPIO pins so you could work sensors and lights and motors like you would with Arduino, but you’d probably be better off just using an Arduino.
I’ve been using it as an alternative to bedtime doomscrolling. Coding on a phone sucks, but thumbtyping on this little clicky keyboard actually works really well and you can do it sitting up or lying down in bed.
I’ll probably never make anything remotely useful with this thing but that’s sort of the whole appeal. Not really having a lot of support for it at work, I’m really left with these little toy programs that don’t really do a whole lot other than look cool. One of these days I really should, though. The open source community is probably a good place to start and I’ve been looking for the right opportunity to jump in and help out a bit.
Hallway troubleshooting
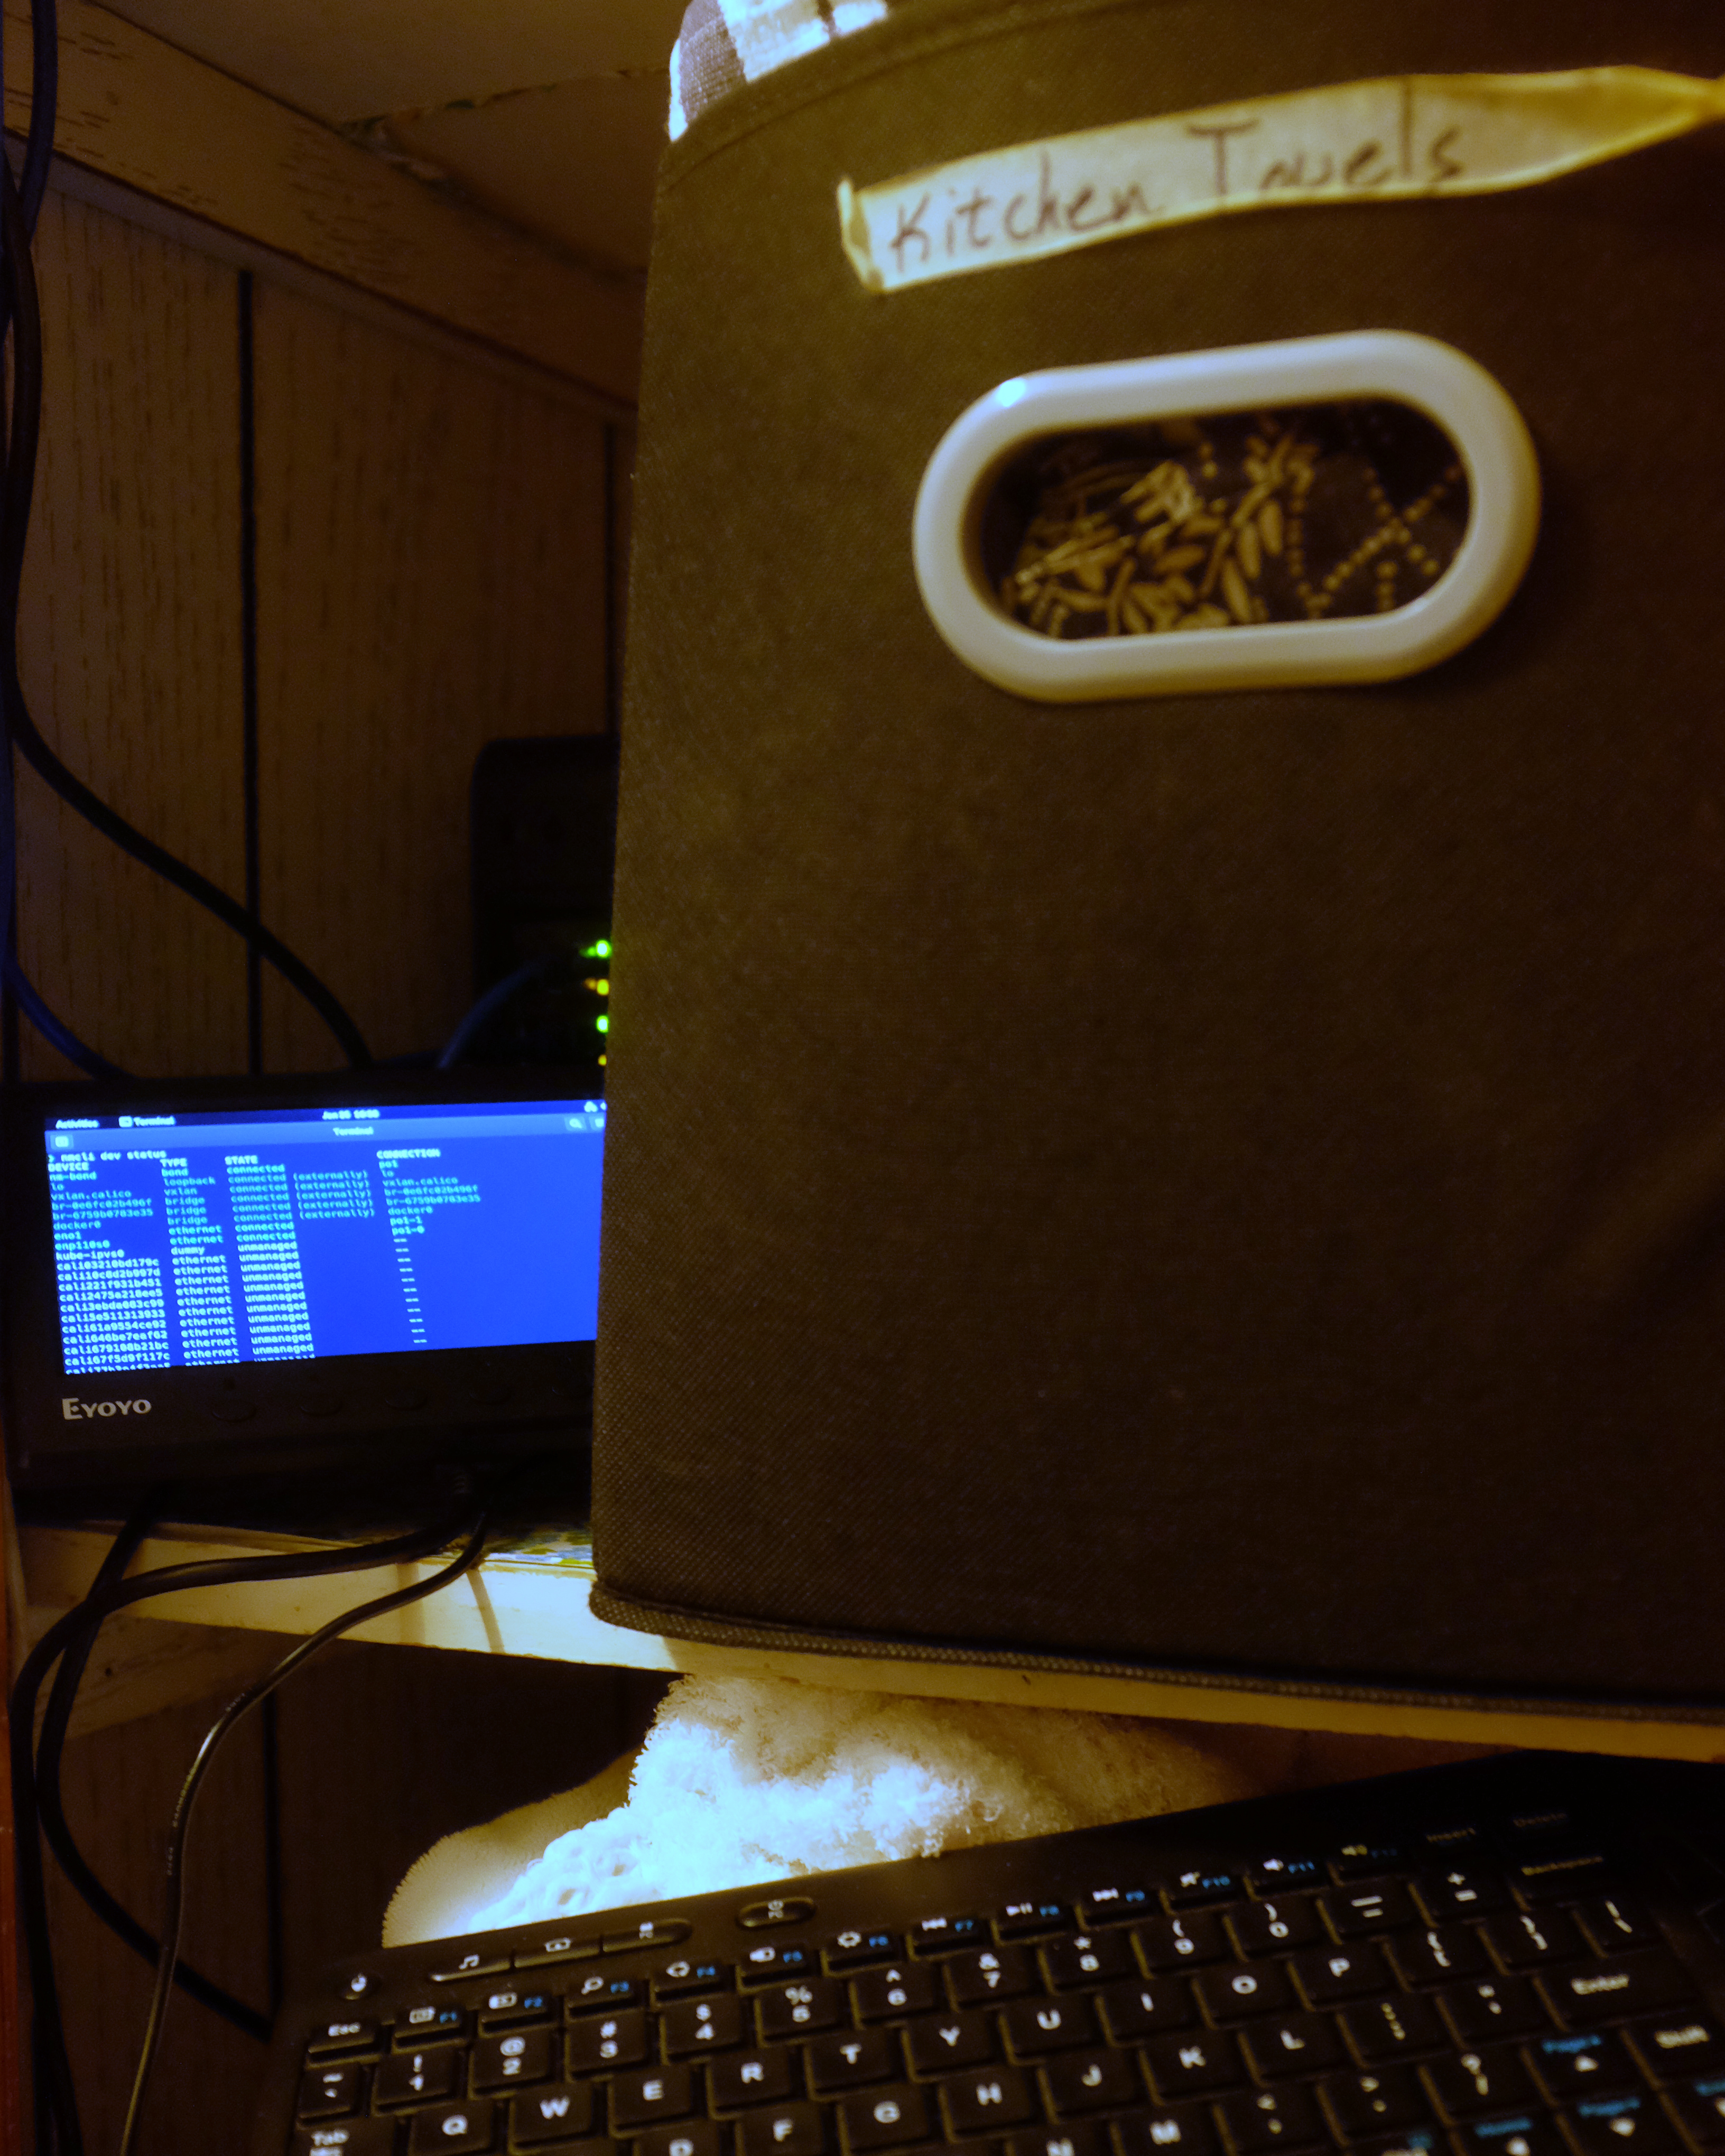
At some point I bought this little 7” LCD screen for a FPGA project I never got started on, and it had been sitting around in a drawer till now. Turns out, combined with a wireless keyboard, it’s the perfect kit for some emergency hallway troubleshooting for when you mangle your network configuration and lose SSH access.