Link Aggregation
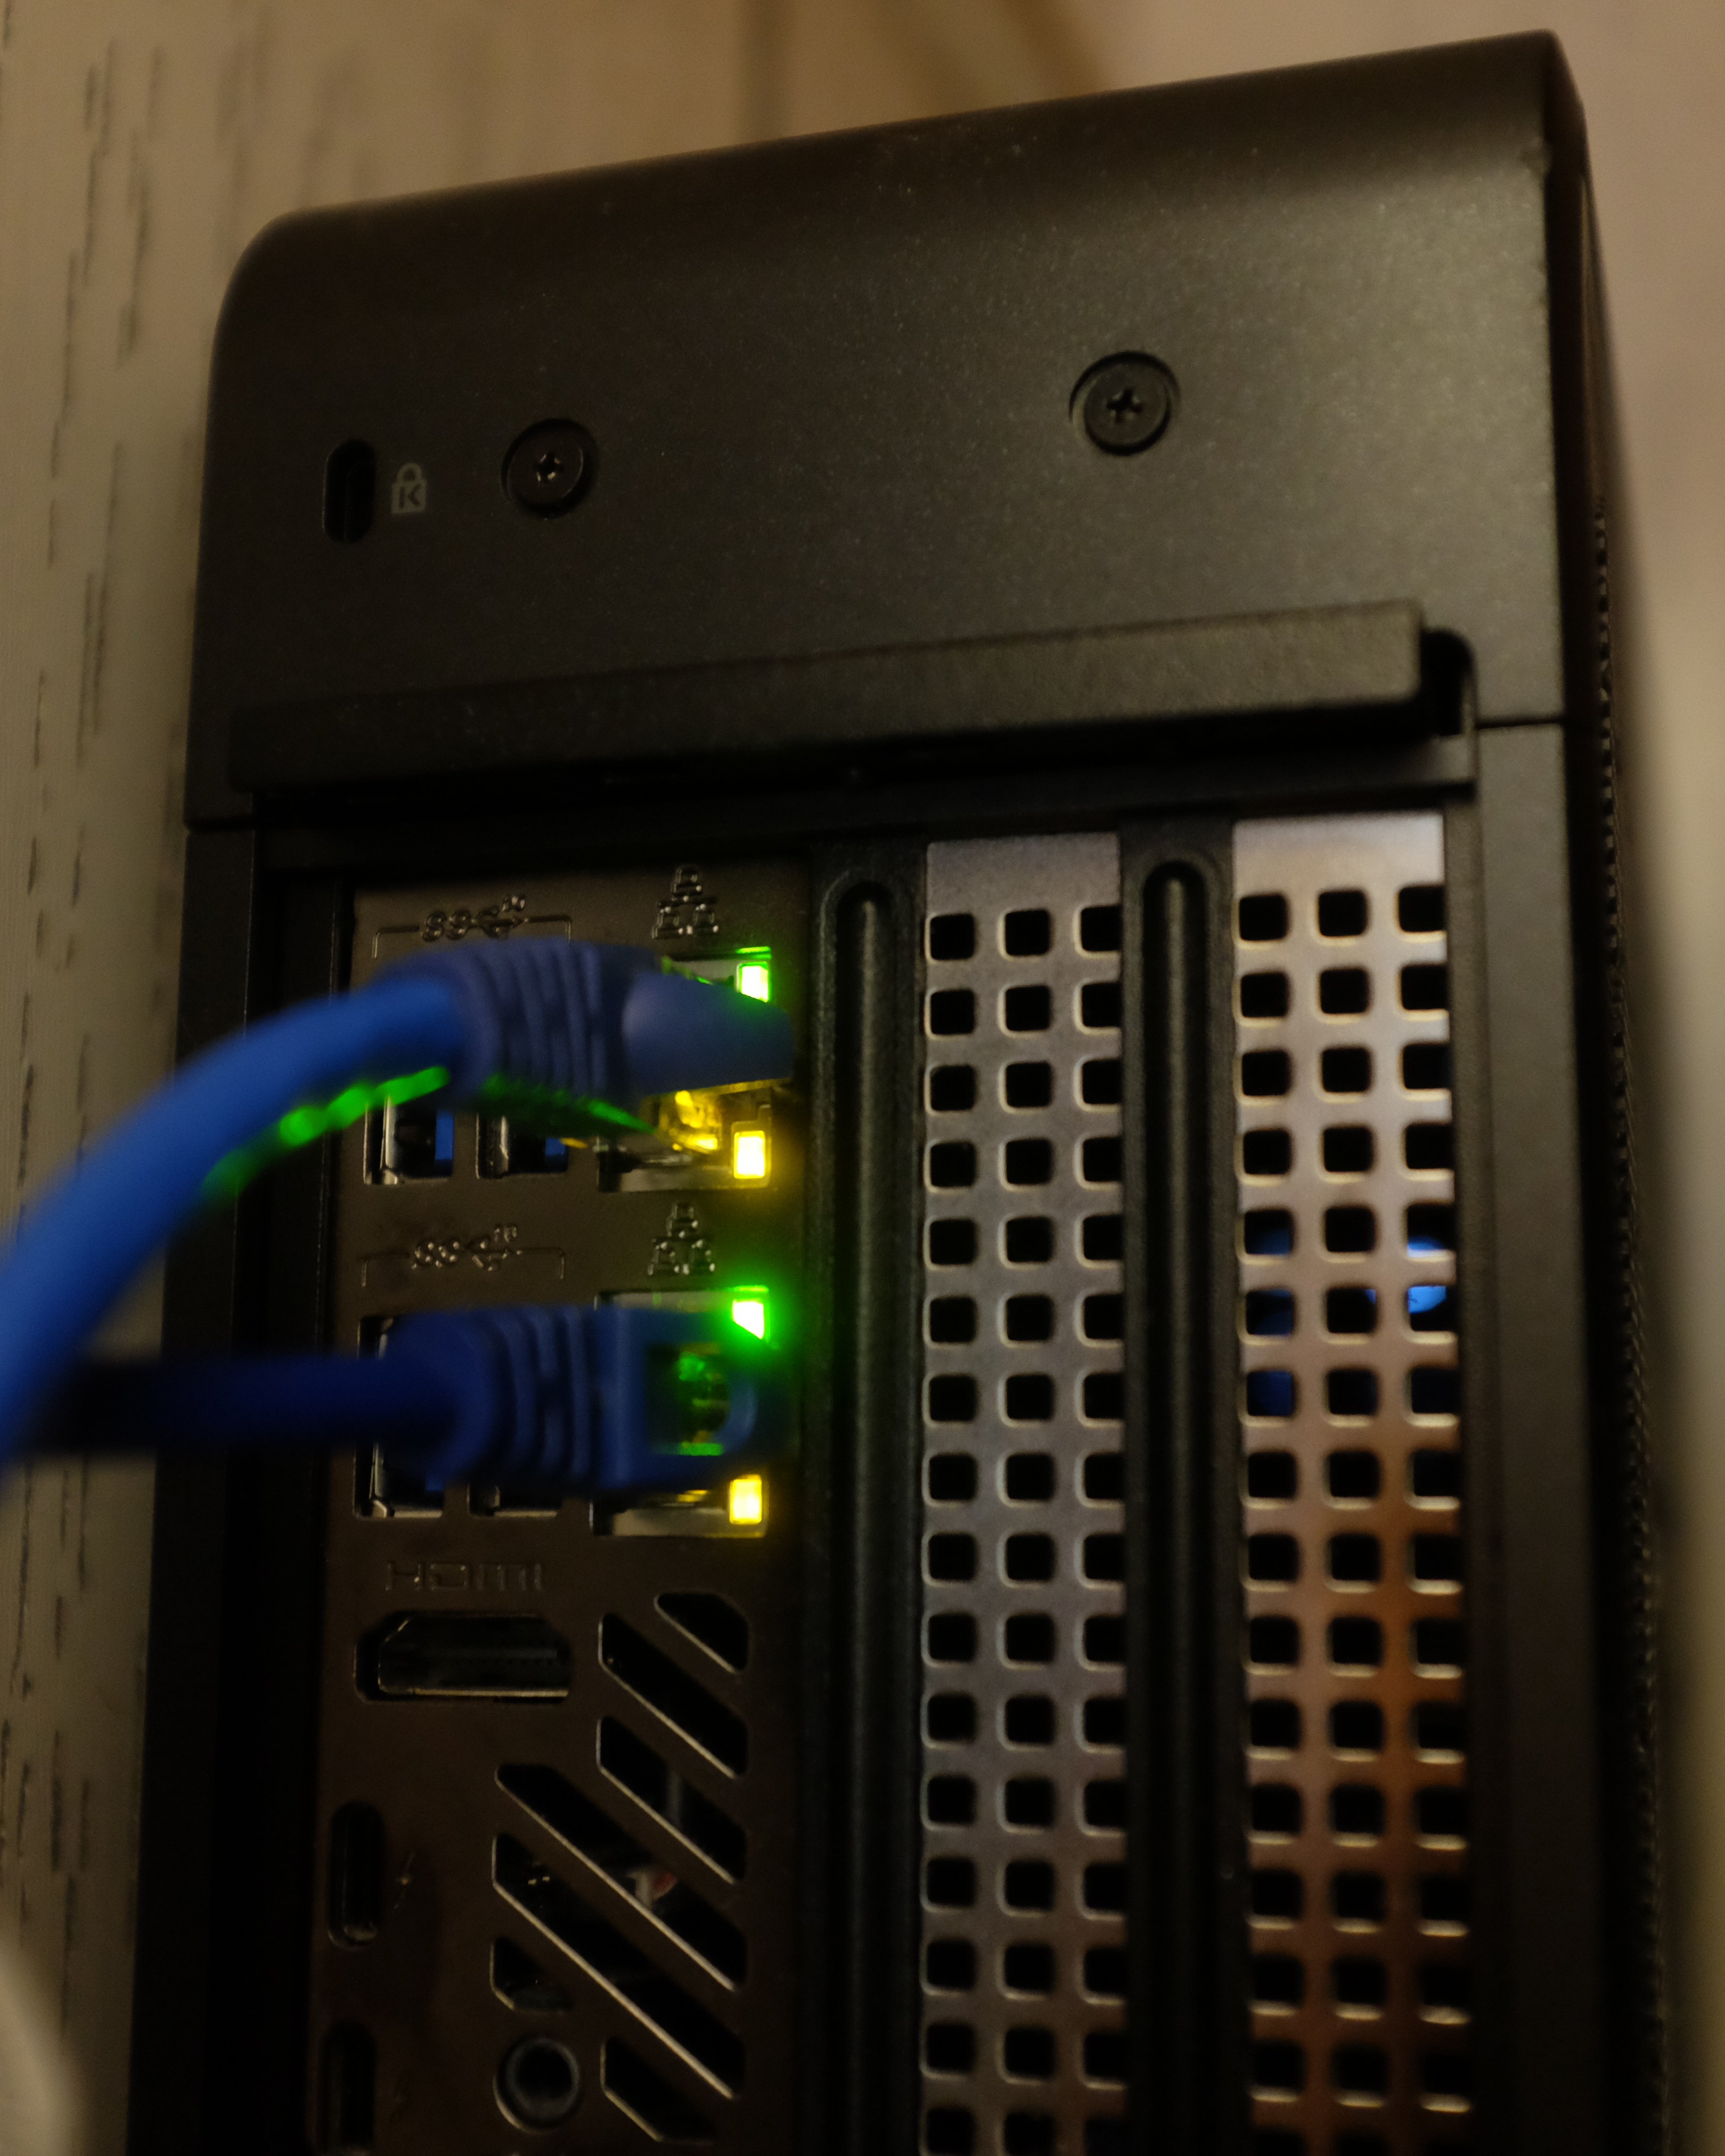
So after moving our server to the linen closet I realized it had a second NIC in back, which of course meant I had to use it. Now that I have control over the network infrastructure, I can set up link aggregation.
Link aggregation allows you to bundle multiple physical connections between two devices into a single one. On Cisco IOS, you create a numbered port channel, and configure the physical interfaces to use the corresponding channel group, also specifying the mode. This process has always been annoying to me because instead of explicitly declaring the protocol – either Link Aggregation Control Protocol (LACP) or Port Aggregation Protocol (PAgP) – you imply it with the mode.
LACP’s modes are active and passive while PAgP’s include a few more but you’ll usually use auto or desirable. The only reason I can think of for these interchangeable and sometimes misleading keywords is for cert test purposes.
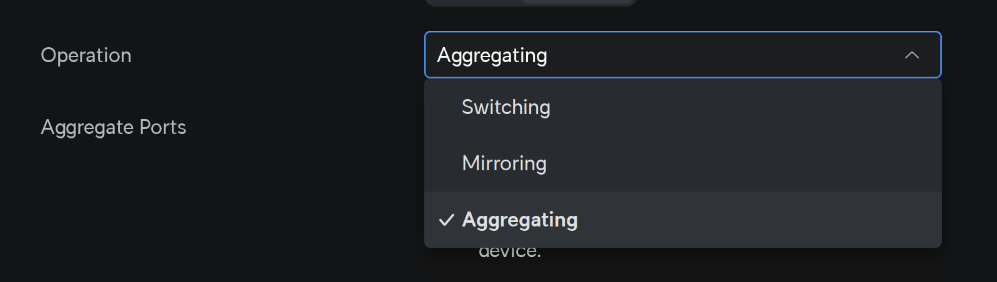
Fortunately, in Ubiquiti you click into this dropdown, which activates LACP (PAgP is Cisco proprietary).
Between network devices it’s pretty easy and you just configure both sides equally, but on the server side I finally had to reckon with one of my big blind spots – Linux networking. The configuration is scattered across a number of commands and files in such a way that I don’t even really know how to write about them. But I guess I’ll try.
For many years, ifconfig was the go-to command to do things like set ip addresses and turn interfaces on and off (not to be confused with the ipconfig command in Windows. But you would have to set your default gateway with the route add command. Now those are deprecated and the best practice these days is to use ip addr and ip route. This makes googling answers a bit difficult because a good number of writeups are still using ifconfig.
And then for DNS you need to configure dns by editing /etc/resolv.conf.
By default there’s the networking service that handles this all to a certain extent, but then you can also install NetworkManager that runs alongside networking so you can use the nmcli command to configure it.
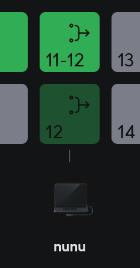
There’s even more and I’m not even going to get into wireless, but nmcli did most of the heavy lifting here. I was going by this guide from Red Hat. Here, I think “bond” is the term for port channel or etherchannel or whatever you want to call it (I’m sure there are some very important distinctions depending on how pedantic you want to get about it).
nmcli conn add type bond ifname po1
The above makes a logical port arbitrarily named po1 (this is just what it would have been called on a Cisco device). Then you need to add your physical interfaces to it:
nmcli conn add type ethernet eno1 master po1
nmcli conn add type ethernet enp110s0 master po1
The two interfaces on the server are named, inexplicably, eno1 and enp110s0. At this point I lost connectivity to the server and had to set up the world’s most annoying crash cart (more on this in a later post).
The two NICs had link lights flashing, but I couldn’t get any layer 3 traffic through. It turned out I needed to enable LACP on the interfaces with:
nmcli conn modify po1 bond.options "mode=802.3ad,lacp_rate=slow"
And now we have a 2 gigabyte uplink for this server. I have no idea what the point of this all was. Also it broke VMWare for a minute because I needed to specify the new interface for it to use.